Video Processing In Kdenlive
05 June 2021
layout: post title: Processing a Timelapse Video date: ‘2019-06-05T20:02:00.004+05:30’ author: Abhijit tags: Photography categories: Photography #modified_time: ‘2021-02-10T20:02:53.417+05:30’ —
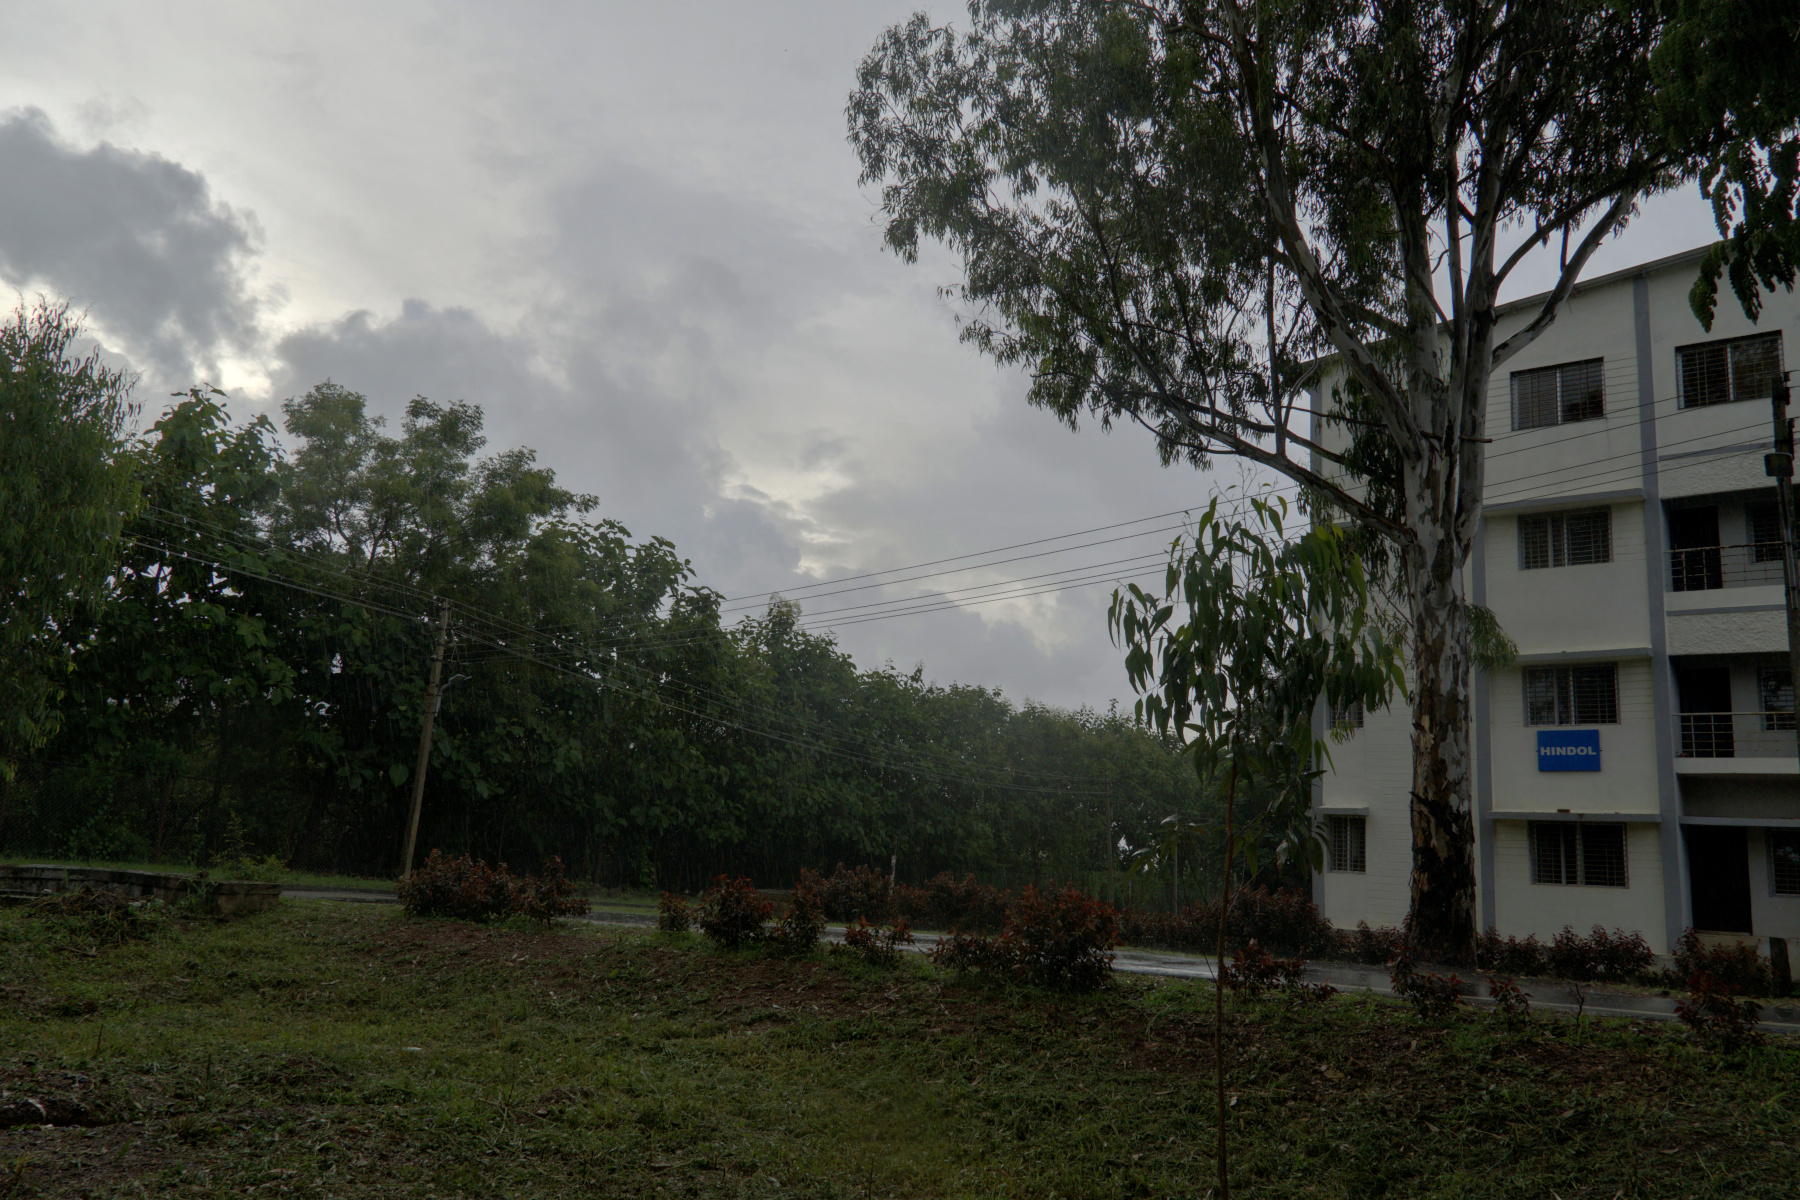
The clouds looking quite dramatic rolling in, so tried to grab a timelapse.
I initially tried using the S&Q mode in-camera but that was not really giving the results I wanted, so I switched to timelapse mode (internal intervalometer on A6400). All clips have same lens, focal length and exposure settings, BUT: the photos were taken in full resolution (24MP; 4:3) while the S&Q video is 16:9. To put it all together, I used kdenlive, which is a fantastic and powerful video editor for Linux - and is free and open source.
Here are the steps I took to create the final.
- Take the JPGs and roll them into a MP4 using ffmpeg:
ffmpeg -framerate 25 -pattern_type glob -i '*.jpg' -c:v libx264 -r 25 -pix_fmt yuv420p -s 1920x1440 out.mp4 - Set output resolution size correctly, else it will give you a video with 24mp frames
- Globbing gives painless way to not worry about file numbering
- Load up all the clips into KDENlive, set project setting to match that of most/largest clips. this way not much encoding effort is needed.
- Resize the 4:3 clip into the 16:9 format using the “Position and Zoom” effect. I did this mostly by trial and error - need to figure out a proper way to find the scaling and offset values. Tip: select the “Distort” checkbox.
- Apply a LUT. My original footage was not recorded in S-Log, as I am now regretfully realizing. So not much scope for adjustment. Plus conditions were quite difficult too - bright sky with clouds, relatively very dark foreground - no ND/ graded filter. :( Even with base ISO100 and f/13 I could not get the shutter speed anywhere near the 1s frame intergval, hence the choppy trees :( :(
Anyway, here is the final result on Youtube